Set Up SSL/TLS for TELNET
Your IBM i can be configured to allow you to connect via TELNET using TLS/SSL, which offers a more securable connection. This guide demonstrates how to create a self-signed certificate to use to authenticate the TELNET connections, and how to assign it to the TELNET service.
Creating the Self-Signed Certificate
First, you need to ensure that the ADMIN server is running on your system. If you are unsure, see our page on Navigator for i for more information.
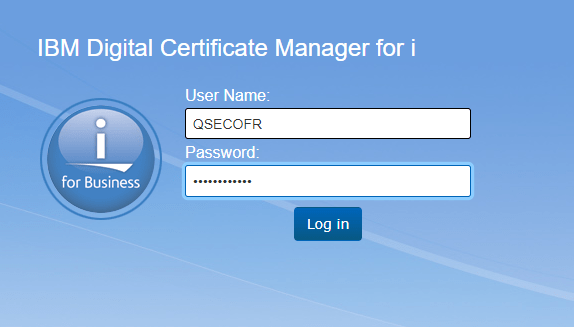
Open your preferred browser and navigate to DCM - Digital Certificate Manager - for your IBM i at the following URL:
http://[your IBM i IP]:2006/dcm/login
If you are connected using our SSL VPN client, the IP address you would reference is the local IP address. Otherwise if you are whitelisted in the firewall, use the public IP address of your system.
Login to your system using a profile with elevated permissions. Each Kato Spaces customer has QSECOFR access to their system.
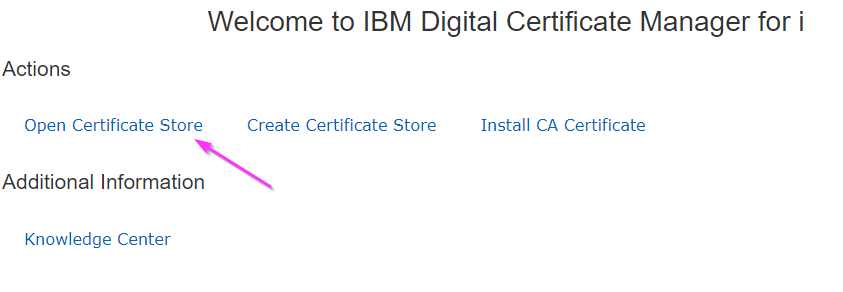
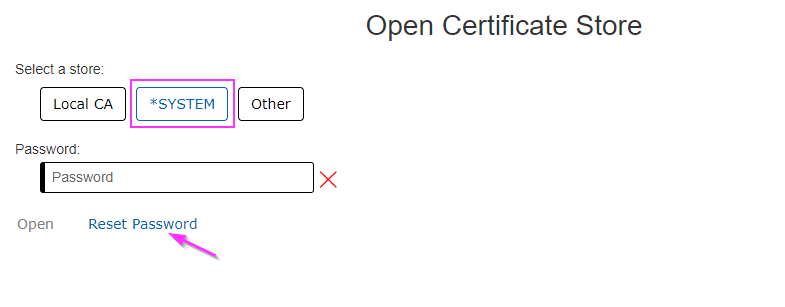
Click “Open Certificate Store” and select *SYSTEM:
Enter your password, if you have set one for the *SYSTEM store. If you don’t know your *SYSTEM store password, you can reset the password.
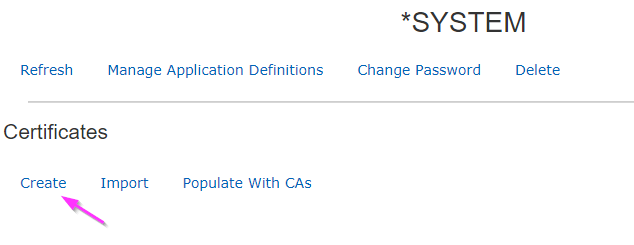
Click “Create” to start the wizard to create a new Certificate Authority:
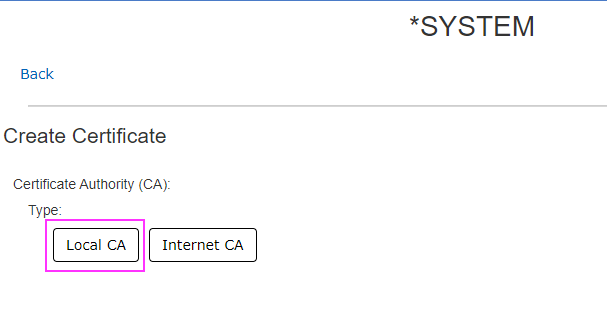
Select “Local CA”:
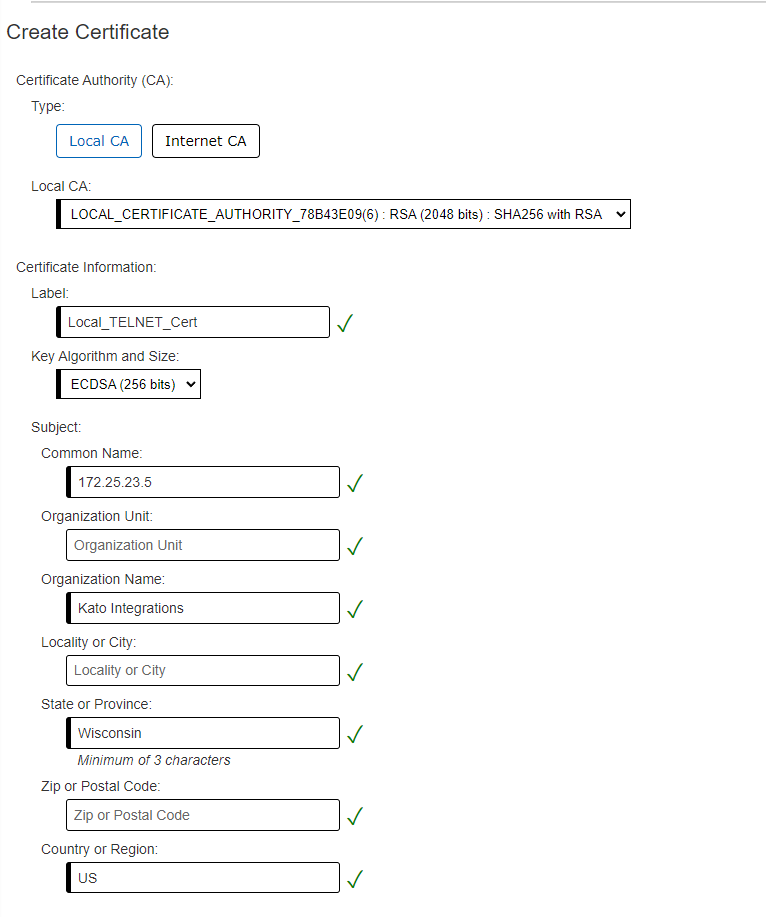
Fill in the required fields. For “Common Name”, which expects a URL, you can use your IP address as well. Click “Create” at the bottom of the page to continue.
Assigning the Self-Signed Certificate
You should now be at the main page for the *SYSTEM store and see your new certificate in the list of Server/Client certificates in DCM:
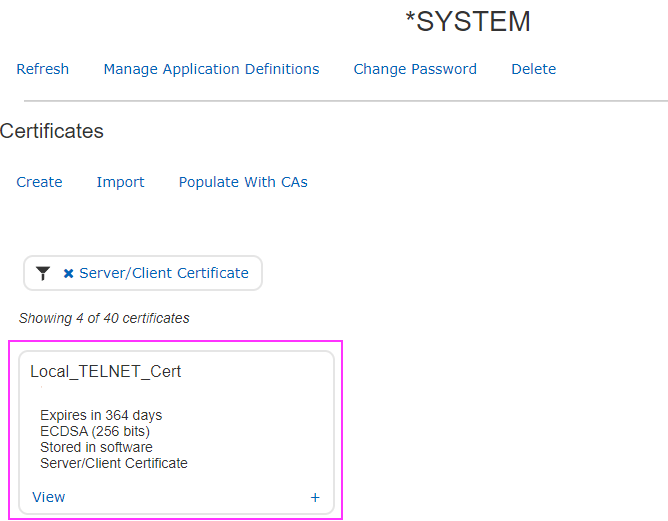
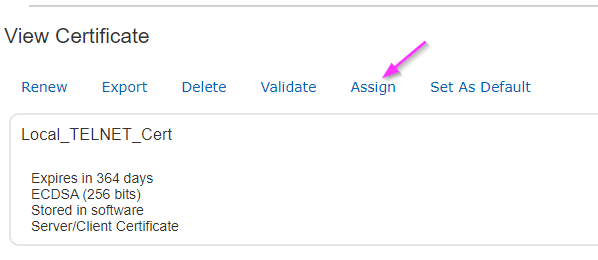
Click “View” on the certificate card to pull up the certificate page, then click “Assign” from the top navigation to go to the list of SSL applications:
Scroll down the list until you find the application named Q_QTV_TELNET_SERVER, the IBM i TCP/IP Telnet Server. There will be two similar listings, be sure you are selecting the SERVER listing, not the CLIENT listing:
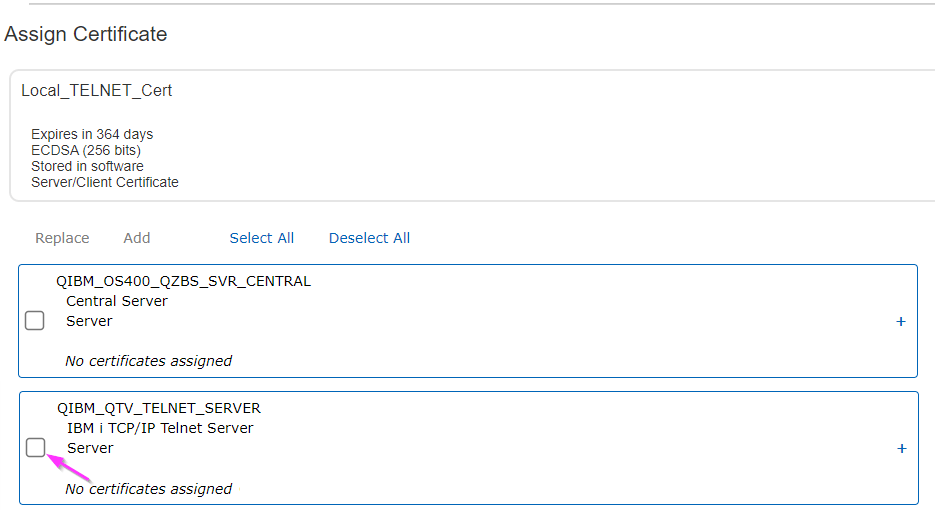
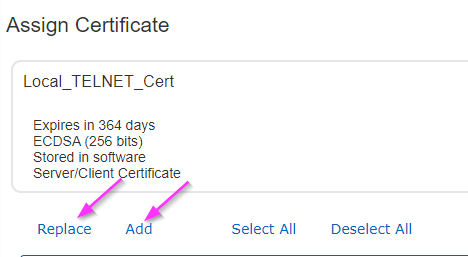
Check the box for the server, then click “Replace” (if it is available) or “Add” at the top:
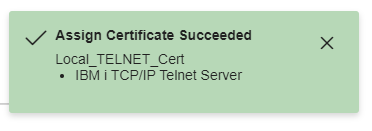
You should see a success message:
Configuring Your Client
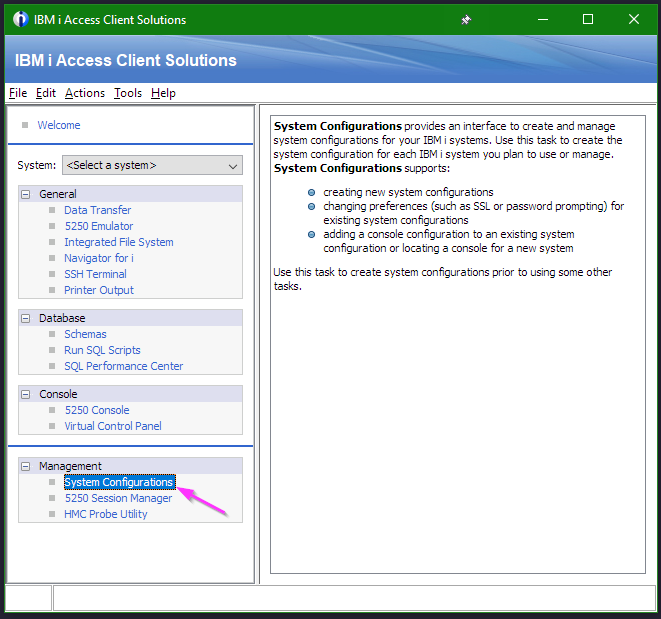
Access Client Solutions needs to be configured to attempt to connect using TLS settings. If you are not using Access Client Solutions, you’ll need to make similar changes but your user interface will be different.
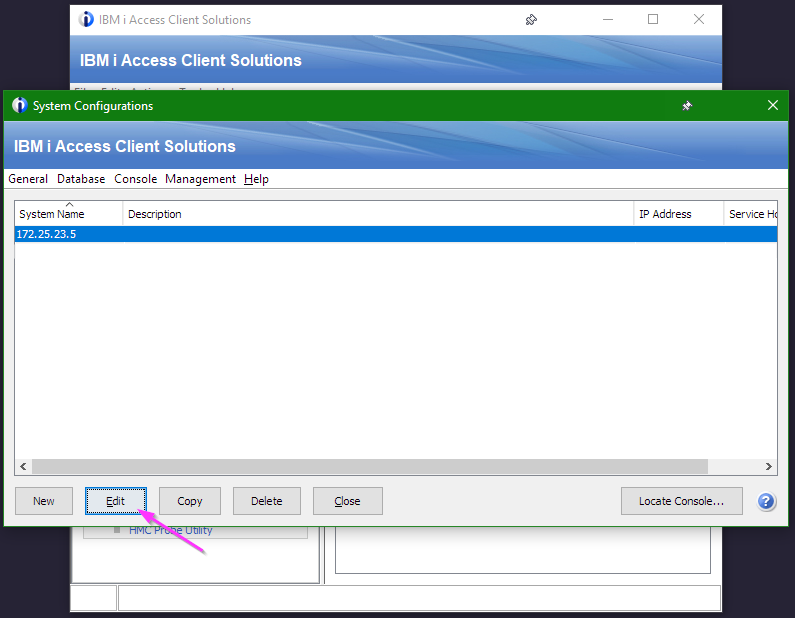
Click on “System Configurations”:
Select your system and click “Edit”
Check the box for “Use SSL for connection”, then click “Verify Connection”:
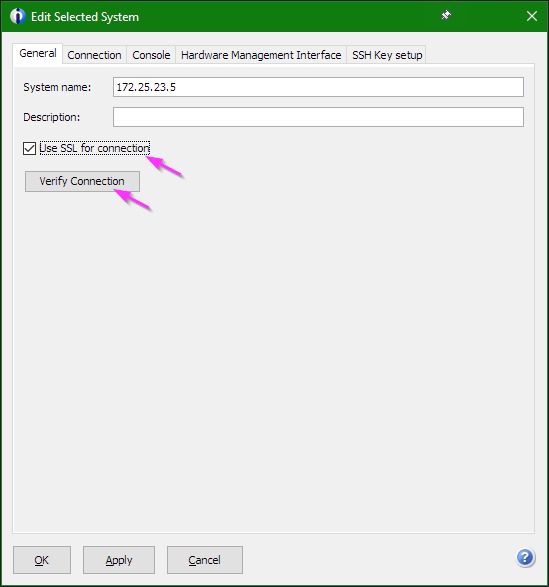
While verifying the connection, it will prompt you to accept the new certificate we assigned to the connection:

Click “Yes” to accept the certificate. The connection verification will complete. Click “Apply” in the system configuration menu to finish configuration